Transfer
Use the Transfer screen to post Transactions that represent the transfer of money between the same kind of accounts (e.g. from and Asset to an Asset, a Liability to a Liability, etc.)
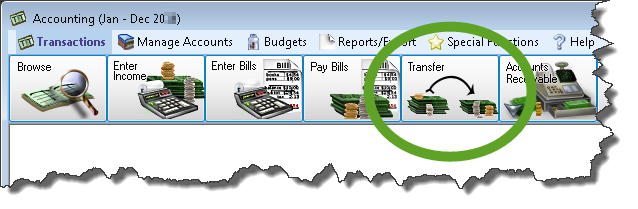
To access the Transfer screen:
- From The Initial Portal of Church Windows choose Accounting
- Click the Transfer option located in the Transactions menu in the Button Bar at the top of the screen:
If you have set up Recurring Transactions to reuse in your transaction screens, click the button to open the screen and apply the transaction to your batch. While entering transactions, you can click the Show Running Balances button to do so for the items added to the batch.
![]()
- Enter the Date Occurred.
- From Account:
Choose the account from which the money is being transferred. - To Account:
Then select the account to which the money is being transferred. - Enter the Amount, the Payment Method, and any applicable Check or Ref #.
- If you have chosen asset accounts, you can also choose to have pertinent information Print on Deposit Slip, by
 checking the box.
 - Enter any additional Comments you would like stored with the transfer transaction.
- Click DONE — Add to Batch (CTRL +) to add the transaction to the Unposted Transfers Batch.
If you need to make changes or remove a transaction from the Unposted Transfers Batch, click the item to select it. Then, click the Edit button to make changes, or Remove to completely get rid of it. Click the button to Save the batch for use at a later time, and/or Print to print a listing of the items.
To finalize the posting of your batch items, click the Post button.
The automatically generated transaction number and the total dollar amount for the batch will display in a message asking you one last time if you wish to print the batch. Answer by clicking Yes or No.
Use the transaction number(s) in the message to look up the posted transaction(s) on the Browse Transactions screen. Each transaction item in the batch will appear as a TNFR transaction.
